Clay Court Resurfacing: A Comprehensive Guide
Clay tennis courts are known for their smooth feel, slower pace, and forgiving surface. Found at clubs, private homes, and sports facilities, they offer a playing experience that’s both strategic and easier on the body. But like any playing surface, clay courts need the right care to stay safe, functional, and enjoyable.
Thinking your court might need a refresh? This guide breaks down everything you need to know about clay court resurfacing, from when to do it, to how it’s done, how often it’s needed, and what to expect in terms of cost. Keep reading to make sure your court stays in top shape for years to come.
Why Clay Court Resurfacing Matters
Clay courts are known for their forgiving surface, slower pace, and strategic gameplay. They’re popular among older players, pros who value long rallies, and those who want to reduce the impact on their knees and joints.
But clay courts aren’t self-sustaining. Over time, wind, rain, foot traffic, and sun exposure all take their toll. Resurfacing brings your court back to life, restoring bounce consistency, smoothing out the surface, and fixing anything that’s gone off balance.
Here’s what happens when you don’t resurface your court regularly:
- Ball bounce becomes unpredictable
- Water pools after rain
- Cracks or dips develop
- The court becomes slippery or unsafe
- Moss and algae start creeping in
If left alone too long, these small issues can turn into expensive repairs. Resurfacing is preventative care, and it keeps your court looking professional and playing right.
Signs Your Clay Court Needs Resurfacing
Wondering if your court is due for some attention? Here are the biggest red flags that resurfacing is in your near future:
- Pooled water after rainstorms
- Uneven or low spots where clay has worn down
- Visible cracks or depressions
- Loss of bounce consistency
- Surface that feels too soft, too hard, or slippery
- Weeds or moss growth, especially in shaded areas
- Faded or peeling boundary lines
If you’re seeing more than one of these signs, it’s probably time to consider resurfacing your clay court soon. Ignoring these issues can lead to more serious problems like structural damage, drainage failure, and unsafe playing conditions. Taking action early helps preserve the court’s integrity and saves you money in the long run by avoiding major repairs.
Clay Court Resurfacing vs. Regular Maintenance
Let’s clear something up: resurfacing isn’t the same thing as day-to-day or even monthly maintenance. Maintenance is like brushing your teeth, something you do consistently to keep things running smoothly. Resurfacing is more like going to the dentist for a deep cleaning and a filling when necessary.
Regular maintenance tasks:
- Daily sweeping and brushing to even out the clay
- Watering (often twice a day in hot climates)
- Rolling the court to keep it firm and level
- Removing debris like leaves, sticks, and dirt
Resurfacing goes deeper. It involves removing or leveling the top layer of clay, adding new material, re-rolling and compacting, and sometimes even fixing the drainage system underneath.
Step-by-Step Clay Court Resurfacing Process
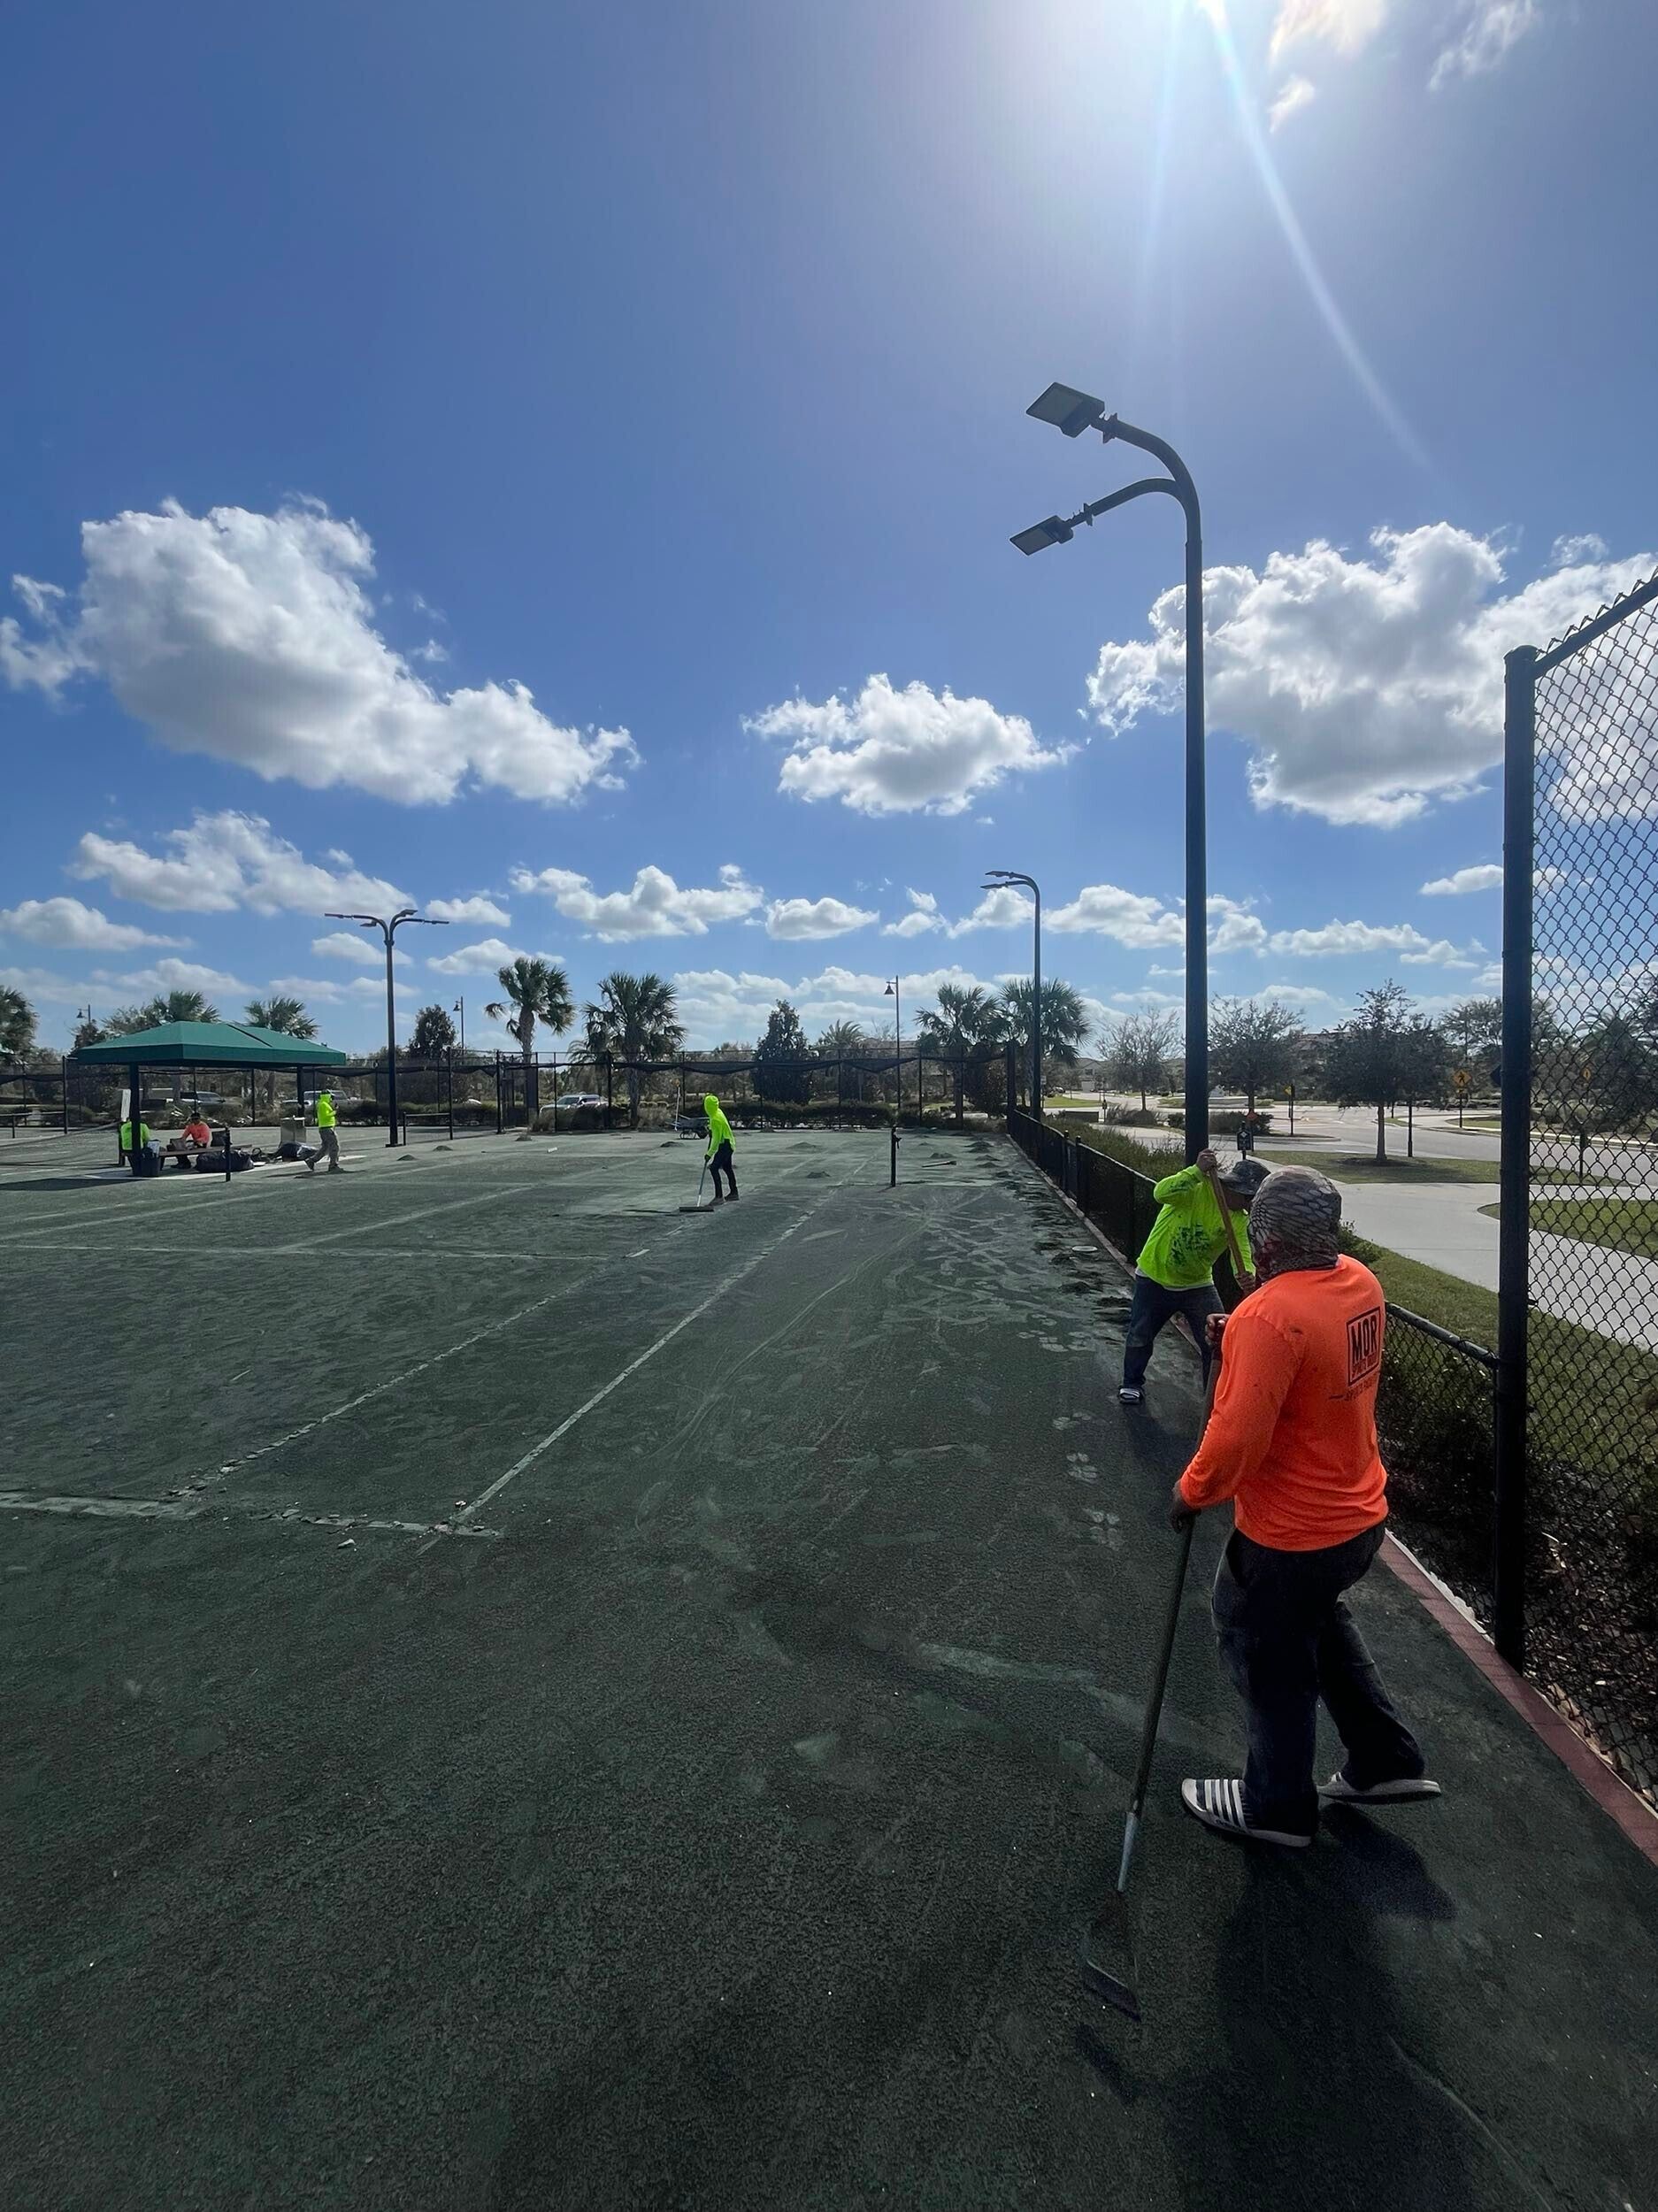
Resurfacing a clay court is a multi-stage process that takes time, patience, and precision. While it’s not overly complex, each step plays a vital role in restoring the court’s performance, safety, and aesthetics. Here’s how it’s typically done from start to finish:

1. Court Evaluation and Site Prep
Before any physical work begins, the court needs a full assessment. This step ensures you're starting with a clean slate and that nothing gets in the way of creating a level, stable surface.
- Inspect for damage: Walk the entire court and take note of cracks, depressions, poor drainage, moss buildup, or areas where the clay feels loose or overly compacted.
- Check drainage performance: If water tends to pool in specific areas after rain, those zones need special attention during resurfacing.
- Clear the court: Remove all removable accessories including net posts, windscreens, benches, and any surrounding gear. This gives you an open, clean workspace.
- Clean the surface: Sweep away debris like leaves, sticks, and dirt. This helps expose surface issues more clearly and creates a clean base for the next steps.
2. Remove Damaged or Loose Clay
Now it’s time to deal with the existing surface. This step is all about creating a strong, even foundation for the new layers of clay.
- Scarify or rake the surface: Use a grooming rake or scarifier to break up compacted areas and loosen the top layer of clay. This helps smooth out bumps and clears the way for fresh material.
- Target soft or unstable spots: Remove clay from areas where the surface feels squishy, unstable, or eroded. These spots won’t provide a firm base and will only get worse if left untreated.
- Weed and moss removal: Manually or chemically remove any weeds, algae, or moss growth, especially around edges or shaded areas. This helps prevent regrowth and keeps the new surface clean and safe.
3. Add Fresh Clay Material
This is where the real transformation begins. The goal here is to restore the court’s structure and ensure that every part of the court plays evenly.
- Use high-quality court clay: Apply a fresh layer of tennis-grade clay (usually 1 to 2 inches thick) across the court. Brands like Har-Tru or HydroBlend are popular for their consistency and durability.
- Apply clay evenly: Use rakes or spreaders to distribute the new material evenly. Focus on high-play areas like baselines, service boxes, and center marks, where clay tends to wear down faster.
- Build up low spots: Apply extra clay to depressions or worn areas to help even out the entire playing surface.
4. Level and Compact the Surface
Once the new clay is in place, it's time to smooth and lock it in. Proper compaction is critical to creating a stable court that won’t shift or erode prematurely.
- Use a heavy roller: Compact the clay by rolling the entire surface multiple times. A tow-behind roller or weighted manual roller works best.
- Level the court: Use a laser level if available, or a long straightedge, to check for high or low spots. Adjust as needed with additional clay.
- Repeat if necessary: It may take several rounds of rolling and leveling to get the court perfectly smooth and firm. Patience during this stage pays off in performance.
5. Watering and Settling
Water helps bind the clay particles together and hardens the surface. This step ensures the court firms up properly and locks in the new clay layers.
- Mist lightly: Use a hose with a fine spray nozzle or a sprinkler system to apply an even mist across the entire court.
- Avoid flooding: Too much water can wash away clay or create puddles. Apply slowly and evenly.
- Allow time to settle: Let the court rest and settle for at least 24–48 hours. Weather will affect this timeframe—warm, dry conditions may speed things up, while humidity or rain may require more patience.
6. Final Touches
The court is almost ready for action, but a few finishing details make a big difference. These finishing touches turn a resurfaced court into a play-ready one, ready to host everything from casual rallies to serious matches.
- Install or refresh line markings: Replace old line tapes or repaint boundary lines. Use slip-resistant, UV-stable marking materials for durability.
- Reinstall nets and accessories: Set the net posts back into place, tighten the net to regulation height, and bring back any seating, fencing, or screens.
- Do a final inspection: Walk the court one last time to make sure the surface is level, the bounce feels consistent, and there are no drainage or safety concerns.
How Often Should You Resurface a Clay Tennis Court?
Clay courts are beautiful, responsive, and player-friendly—but they require regular attention to stay in top condition. On average, clay tennis courts need to be resurfaced every 2 to 3 years. This interval isn’t set in stone, though. Several factors can shorten or extend that timeline. Let’s break down what affects how often you’ll need to resurface your court.
Frequency of Use
The more a court is used, the faster its surface will wear down.
- High-traffic courts—like those in schools, sports clubs, or tournament facilities—see more footwork, slide patterns, and overall wear.
- These courts often need resurfacing every 1.5 to 2 years, especially in areas like the baselines, which take the most punishment.
- Private or lightly used courts, on the other hand, may hold up longer and only need resurfacing every 3 years or so.
If you host clinics, lessons, or daily play sessions, expect more frequent resurfacing needs.
Climate Conditions
Weather plays a major role in how long a clay court surface holds up.
- Rainy climates contribute to erosion, soft spots, and uneven wear. Water can wash away fine clay particles and undermine compaction.
- Dry and windy regions cause the surface to dry out faster, requiring more frequent watering and rolling. This increases surface wear over time.
- Humid environments encourage moss or algae growth, especially in shaded areas, which can deteriorate the surface and make it slippery.
If your court is in an area with unpredictable or extreme weather, your resurfacing schedule might lean closer to every 2 years or even sooner.
Quality of Materials Used
Not all clay is created equal. The longevity of your surface often depends on what materials were used during the last resurfacing.
- Premium-grade clay, like Har-Tru or HydroBlend, is more resistant to compaction and wear.
- Lower-grade or generic clay can break down faster, hold too much or too little water, or fail to bond well with the base layer.
Using high-quality clay products during resurfacing means a longer-lasting, more consistent playing surface and fewer resurfacing cycles over time.
Maintenance Consistency
The biggest controllable factor in how long your surface lasts is how well you maintain it.
- Courts that are brushed, rolled, and watered regularly tend to stay firm, level, and consistent for longer.
- Neglecting simple tasks like sweeping or checking drainage can dramatically shorten a court’s lifespan.
- If top-dressing is neglected and lines aren’t replaced when worn, your court can quickly go from “playable” to “problematic.”
A consistent maintenance routine can easily stretch your resurfacing interval to the upper end of the 3-year window.
Additional Considerations
- Drainage setup: Poor drainage accelerates clay loss and surface instability. Resurfacing won’t solve the problem unless the drainage is also improved.
- Type of play: Sliding-heavy clay court play (like you see in advanced or competitive matches) puts more strain on the surface than casual rallying.
- Shade and tree coverage: Shaded areas dry out more slowly, inviting moss and algae. This uneven drying can wear down some areas faster than others.
Essential Tools and Materials for Resurfacing
Planning to handle clay court resurfacing on your own or just want a better understanding of the process? Knowing which tools and materials are involved can help you prepare, evaluate the work, or maintain the court confidently after resurfacing is complete.
Core Tools You’ll Need
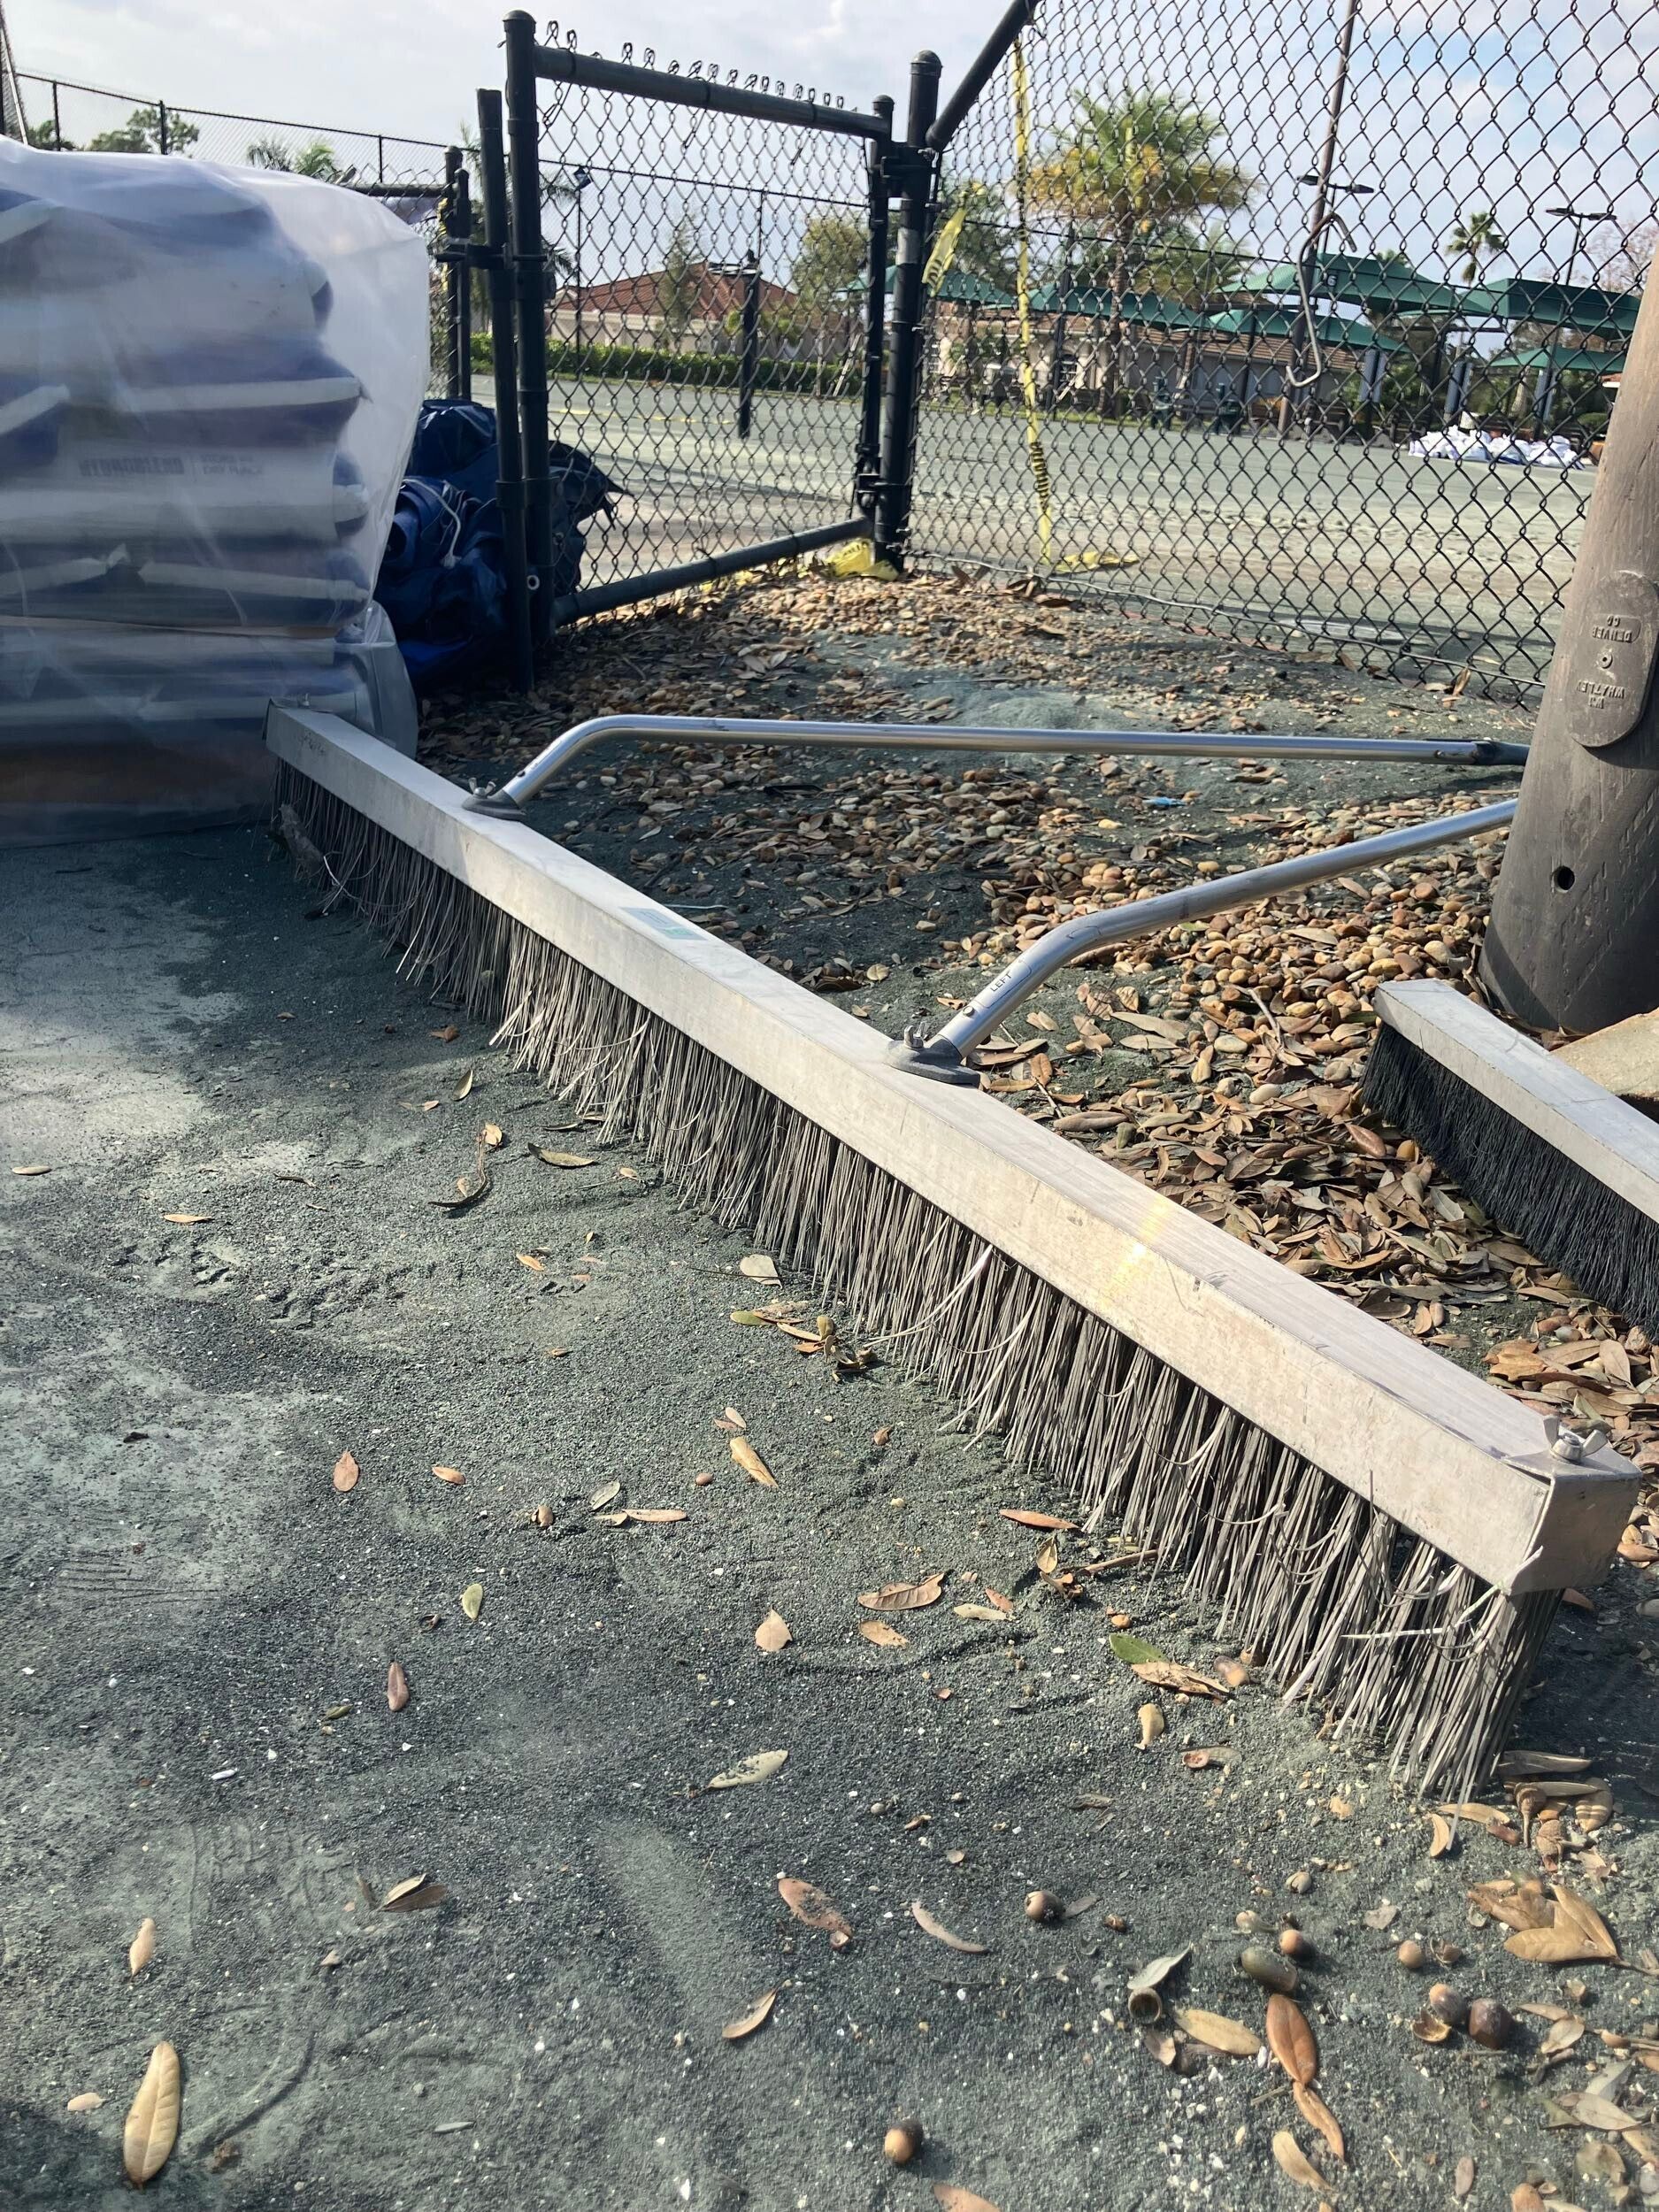
- Drag Brush or Broom: Used to spread and level the clay surface evenly. This tool is essential after applying new clay to smooth out high spots, fill in low areas, and keep the surface consistent. Brushes vary in stiffness—softer ones are ideal for finishing, while firmer bristles help with heavier redistribution.
- Heavy-Duty Roller (Manual or Tow-Behind): Compaction is key for court stability. A roller presses the clay down to create a firm, even surface that supports consistent bounce and resists erosion. For small-scale use, a manual roller works well; for larger areas, opt for a tow-behind version to save time.
- Scarifier or Grooming Rake: These tools break up compacted clay and help loosen the top layer before applying new material. Grooming rakes also come in handy for regular maintenance, improving texture, and removing unwanted buildup.
- Watering Equipment: Maintaining proper moisture is critical for both resurfacing and daily upkeep. Use a hose with a fine mist nozzle or a sprinkler system to lightly water the court without disturbing the surface. This helps new clay settle and keeps the court in optimal condition.
- Line Tape or Marking Kit: After resurfacing, accurate game lines are a must. Line tape made from durable materials ensures lasting visibility and helps define play zones clearly. A marking kit makes it easy to apply lines that meet regulation standards.
- Top-Dressing Clay: This is the main material used to restore your court’s surface. Choose premium clay, such as Har-Tru or HydroBlend, which offers excellent compaction, water retention, and a consistent playing feel. Lower-grade alternatives can lead to faster wear and uneven play.
Common Mistakes to Avoid During Clay Court Resurfacing
Even well-intentioned DIYers or contractors can make errors that shorten a court’s lifespan or cause issues down the line.
Avoid these common pitfalls:
Skipping Base Inspection
One of the most common—and costly—mistakes is failing to inspect the court’s base before adding new clay. The sub-base is what supports the entire surface. If it’s not level, compacted, or properly drained, then resurfacing is just putting a temporary fix on a deeper issue.
- Resurfacing over a poorly-drained base often results in water pooling, soft spots, and premature erosion.
- It’s important to check for settling, cracks, or signs of water retention below the surface.
- If needed, re-grading the base or improving drainage before resurfacing can save you thousands in future repairs.
Using the Wrong Type of Clay
Not all clay is created equal, especially when it comes to tennis courts. Using the wrong type of clay, such as basic landscaping clay or cheap alternatives, can lead to a host of issues that impact both performance and durability.
These lower-grade materials often fail to compact properly, don’t retain moisture consistently, and can create an unpredictable playing surface. This not only affects ball bounce and traction but also makes maintenance more difficult over time.
Tennis courts require a specific type of clay made from angular particles that interlock when compacted. Materials like Har-Tru or HydroBlend are designed specifically for tennis court use because they provide stability, reliable moisture control, and a consistent surface texture. Using the right clay helps ensure your court performs well, looks great, and lasts longer. That’s why it’s essential to work with reputable suppliers who specialize in tennis-grade clay products.
Inadequate Compaction
Failing to compact the clay properly is a guaranteed way to create an unstable, uneven surface. Consistent rolling—both during and after resurfacing—is key to creating a smooth, durable surface that holds up under play.
- A court that isn’t compacted enough will develop dead spots, shifting areas, and inconsistent bounce.
- Loose clay also erodes faster, especially in wet or windy conditions.
- After spreading new clay, the surface must be rolled multiple times with a heavy roller to achieve the right density and firmness.
Poor Moisture Control
Moisture plays a critical role in how clay courts perform. Too much or too little water can throw off everything from compaction to bounce.
- Overwatering makes the court muddy and soft, leading to surface damage, poor traction, and increased risk of injury.
- Underwatering causes the clay to dry out and become dusty, making it harder to compact and prone to surface cracking.
- Watering should be done with a fine mist to avoid disturbing the clay, and ideally in the morning and evening to minimize evaporation.

Mastering moisture control is essential not just during resurfacing, but as part of your ongoing maintenance routine.
Ignoring Proper Leveling Techniques
A flat, even surface is not just about aesthetics—it’s crucial for playability and player safety. Proper leveling ensures every corner of the court meets regulation standards and performs consistently.
- Courts with high and low spots can affect ball bounce, footing, and even drainage.
- Leveling by eye or using basic tools can result in an uneven surface. Instead, use a laser level or a long straightedge for accuracy.
- Clay naturally settles unevenly over time, so attention to grading is needed even if the court “looks” fine.
Extending the Lifespan of Your Resurfaced Court
You’ve invested in resurfacing your clay court—now it’s time to maintain it properly. Sweep the surface daily with a drag brush to keep it level and free of debris. Water the court in the morning and evening, especially in hot or dry climates, to help retain moisture and prevent the clay from drying out or cracking.
Roll the court every few days to maintain a firm, consistent surface that supports proper bounce and safe movement. Clean the line tapes regularly to keep them visible, and avoid playing when the surface is muddy or waterlogged, as this can cause uneven wear and long-term damage.
Monthly inspections are key to spotting early signs of drainage issues, soft spots, or cracking before they become costly repairs. Staying consistent with these simple routines can greatly extend the life and playability of your court. For more in-depth guidance, refer to resources from the American Sports Builders Association (ASBA).
When to Hire Professional Clay Court Resurfacing Services
Sometimes it’s best to leave the job to the experts. If your court has:
- Major drainage issues
- Structural problems like shifting or sinking
- Excessive cracking
- Poor slope or water retention
…then it’s time to call in the pros.
A trusted name in this space is Mor Sports Group. They specialize in clay court resurfacing, custom construction, and repair. From initial site evaluation to material selection and final finishing, their team delivers pro-level results tailored to your court’s needs. They also handle drainage upgrades, net installations, and offer post-project support.
Conclusion
Clay court resurfacing is more than just a facelift—it’s a reset button. Make resurfacing part of your long-term court care strategy, and your surface will reward you with years of consistent, safe, and enjoyable tennis.
Ready to resurface your court? Start by evaluating its current condition, researching your options, and connecting with a reliable contractor like Mor Sports Group to handle the heavy lifting.